Catching Pokémon
Every Poké Ball, catch rates, chains and outbreaks
🎯 How Catching Works
Catching in PokeWorld is simple to learn and deep to master. The loop:
- Walk into a wild Pokémon on the map — the battle screen opens.
- Weaken it. Lower HP means an easier catch — get it into the red without knocking it out.
- Throw a ball
 and cross your fingers!
Catch chance depends on the species, its remaining HP, its status and — crucially — which ball you throw. Picking the right ball for the situation is the difference between a one-throw catch and an empty bag.
🛒 Every Poké Ball — Full Comparison
All balls are sold in the Shop. Here's the complete lineup:
| Item | Price | Best for |
|---|---|---|
| 200 coins | The standard. Fine for weak, common Pokémon. | |
| 600 coins | Better catch rate — solid mid-game workhorse. | |
| 1,200 coins | Best all-round rate — the most popular ball for anything rare. | |
| 1,000 coins | Commemorative — for catches you want to feel special. | |
| 300 coins | Heals the Pokémon fully after catching — straight into your team. | |
| 1,000 coins | 4× rate on Water and Bug types. | |
| 1,000 coins | Best on low-level Pokémon — the lower the level, the better it works. | |
| 1,000 coins | 3.5× rate while fishing. | |
| 1,000 coins | 3.5× at night and in caves. |
🎒 Which Ball Should I Throw?
Quick decision guide
- Common low-level mon? Poké Ball or
 Nest Ball — cheap and effective.
 - Water or Bug type?
 Net Ball, always — 4× is the
biggest multiplier in the shop.
Net Ball, always — 4× is the
biggest multiplier in the shop. - Hunting at night or in Mt. Moon / Cerulean Cave?
 Dusk Ball — 3.5×.
 - Fishing session?
 Dive Ball — 3.5× on everything
you reel in.
Dive Ball — 3.5× on everything
you reel in. - Rare spawn, no specialty bonus applies?
 Ultra Ball —
the best general-purpose rate in the game.
Ultra Ball —
the best general-purpose rate in the game. - Want it battle-ready instantly?
 Heal Ball — full HP
on catch.
Heal Ball — full HP
on catch.
🔗 Catch Chains — Multiply Your Shiny Odds
Here's where catching turns into strategy. Catching the same species repeatedly builds a catch chain — and your chain multiplies your shiny odds. The longer the chain, the better your chances.
- ✅ Catch another of the same species → chain grows → shiny odds climb.
- ❌ Catch a different species → chain breaks → back to zero.
Chains + Outbreaks = best combo in the game
Outbreaks are swarms of 50–150 Pokémon of one species active for 2–4 hours somewhere in the world (3 are always running). They come with boosted spawn and shiny rates — and since everything around you is the same species, they're the perfect place to build a long chain without breaking it. See World Map & Exploration for how outbreaks work.
💡 Pro Catching Tips
- Weaken first. Red-HP targets are dramatically easier to catch than full-HP ones.
- Status helps. Sleep, paralysis and other status conditions boost your catch chance on top of low HP.
- Match the ball to the situation. Specialty multipliers (Net 4×, Dusk/Dive 3.5×) beat brute-force Ultra Balls when they apply.
- Use your Elite trial. New accounts get 3 days of Elite with 2× shiny odds — chain during the trial and every catch is a lottery ticket. Full multiplier math in the Shiny Hunting guide.
- Stock up before hunts. Battle wins pay +100 coins — a few wins funds a pocketful of balls.
- Catch everything early. Even "junk" catches fill your Pokédex, feed your Collector Score and can be traded later.
🌟 Classic Catches to Chase
Some fan favorites every trainer hunts down sooner or later:

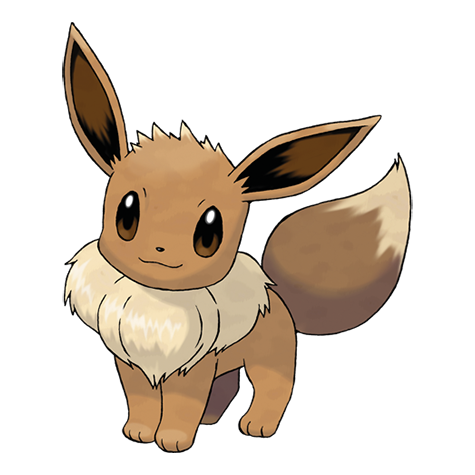
- Eevee — one catch, many evolutions. A must for collection hunters.
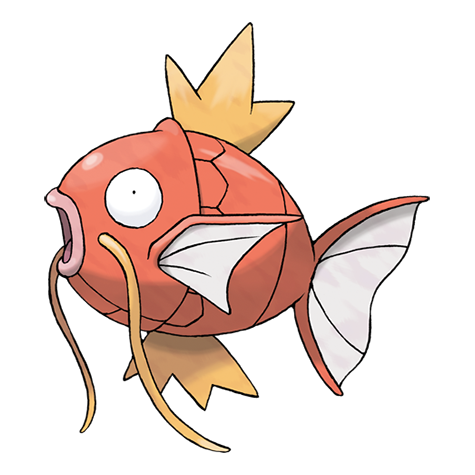
- Magikarp — easy to catch (a Net Ball makes it trivial),
and patience turns it into Gyarados.
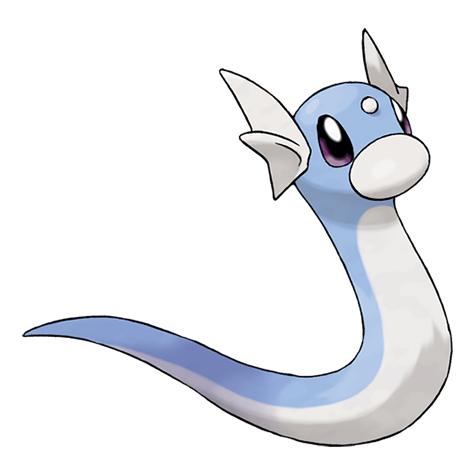
- Dratini — head to Dragon's Den; its line ends in the mighty Dragonite.
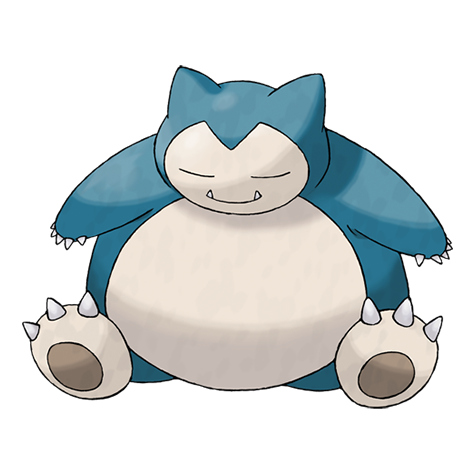
- Snorlax — a chunky wall for your battle team.
➡️ What's Next?
You know the balls, the chains and the outbreaks. Time to put it together:
- ✨ Shiny Hunting — stack chain, Elite, events and more up to a ×50 total multiplier.
- ⚔️ Battles & PvP — turn your catches into a winning team.
- 🗺️ World Map & Exploration — find the zone where your target actually spawns.